
🐳 Bootstrapping a Kubernetes Cluster with kubeadm
Kubernetes has become the de facto standard for container orchestration, providing scalability, resilience, and automation for modern applications. While there are multiple ways to set up a Kubernetes cluster—such as managed services (EKS, AKS, GKE) or tools like kOps—kubeadm remains one of the most direct and flexible methods for bootstrapping a production-grade or lab environment cluster.
In this article, we’ll walk through what kubeadm is, why you might use it, and the steps required to bootstrap your own Kubernetes cluster.
✅ What is kubeadm?
kubeadm is a tool provided by the Kubernetes community to simplify the process of creating and managing clusters. It handles the complex, low-level details such as generating certificates, creating configuration files, and starting control plane components.
With kubeadm, you can:
- Initialize a Kubernetes control plane node.
- Join worker nodes to the cluster.
- Upgrade clusters in-place.
- Configure cluster networking.
It does not provision infrastructure (like servers or VMs) or handle add-ons (like monitoring), but it provides a clean foundation on which you can build.

✅ Prerequisites
Before you bootstrap a cluster with kubeadm, you’ll need:
Machines: At least two Linux machines (1 control plane + 1 worker). These can be physical, virtual, or cloud instances.
OS: Ubuntu, Debian, CentOS, or another Linux distribution supported by Kubernetes.
Requirements:
2 GB RAM (minimum per machine).
2 CPUs (recommended).
Network connectivity between all nodes.
Installed tools:
containerdorCRI-Oas container runtime.kubeadm,kubelet, andkubectl.Swap disabled (
swapoff -a).
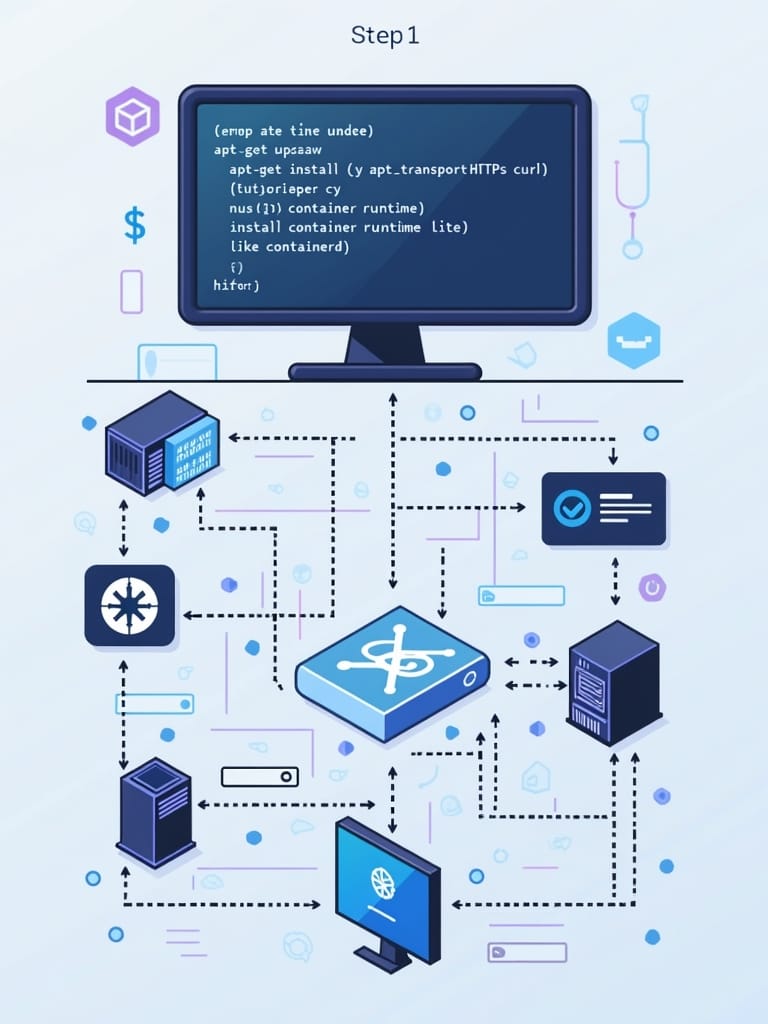
✅Step 1: Install Dependencies
					# Update packages
sudo apt-get update && sudo apt-get install -y apt-transport-https curl

# Install container runtime (example: containerd)
sudo apt-get install -y containerd

# Add Kubernetes repository
curl -s https://packages.cloud.google.com/apt/doc/apt-key.gpg | sudo apt-key add -
cat <<EOF | sudo tee /etc/apt/sources.list.d/kubernetes.list
deb https://apt.kubernetes.io/ kubernetes-xenial main
EOF

# Install kubeadm, kubelet, kubectl
sudo apt-get update
sudo apt-get install -y kubelet kubeadm kubectl

# Prevent them from being automatically updated
sudo apt-mark hold kubelet kubeadm kubectl
✅Step 2: Initialize the Control Plane
On the master node, initialize the Kubernetes control plane with:
sudo kubeadm init --pod-network-cidr=10.244.0.0/16
- --pod-network-cidr=10.244.0.0/16 → required for Flannel (network add-on).
- After initialization, you’ll get a kubeadm join command. Copy and save it — you’ll need it to add worker nodes.
Then, set up kubeconfig for your user:
					mkdir -p $HOME/.kube
sudo cp -i /etc/kubernetes/admin.conf $HOME/.kube/config
sudo chown $(id -u):$(id -g) $HOME/.kube/config


✅ Step 3: Install a Pod Network Add-on
Kubernetes needs a networking solution so pods across nodes can talk to each other. For Flannel, run:
kubectl apply -f https://raw.githubusercontent.com/flannel-io/flannel/master/Documentation/kube-flannel.yml
You can also use other CNI plugins like Calico or Weave Net depending on your setup.
✅ Step 4: Join Worker Nodes
On each worker node, run the kubeadm join command you saved earlier (from kubeadm init). It looks something like this:
					sudo kubeadm join <MASTER_IP>:6443 --token <TOKEN> \
    --discovery-token-ca-cert-hash sha256:<HASH>
This securely connects worker nodes to the control plane.
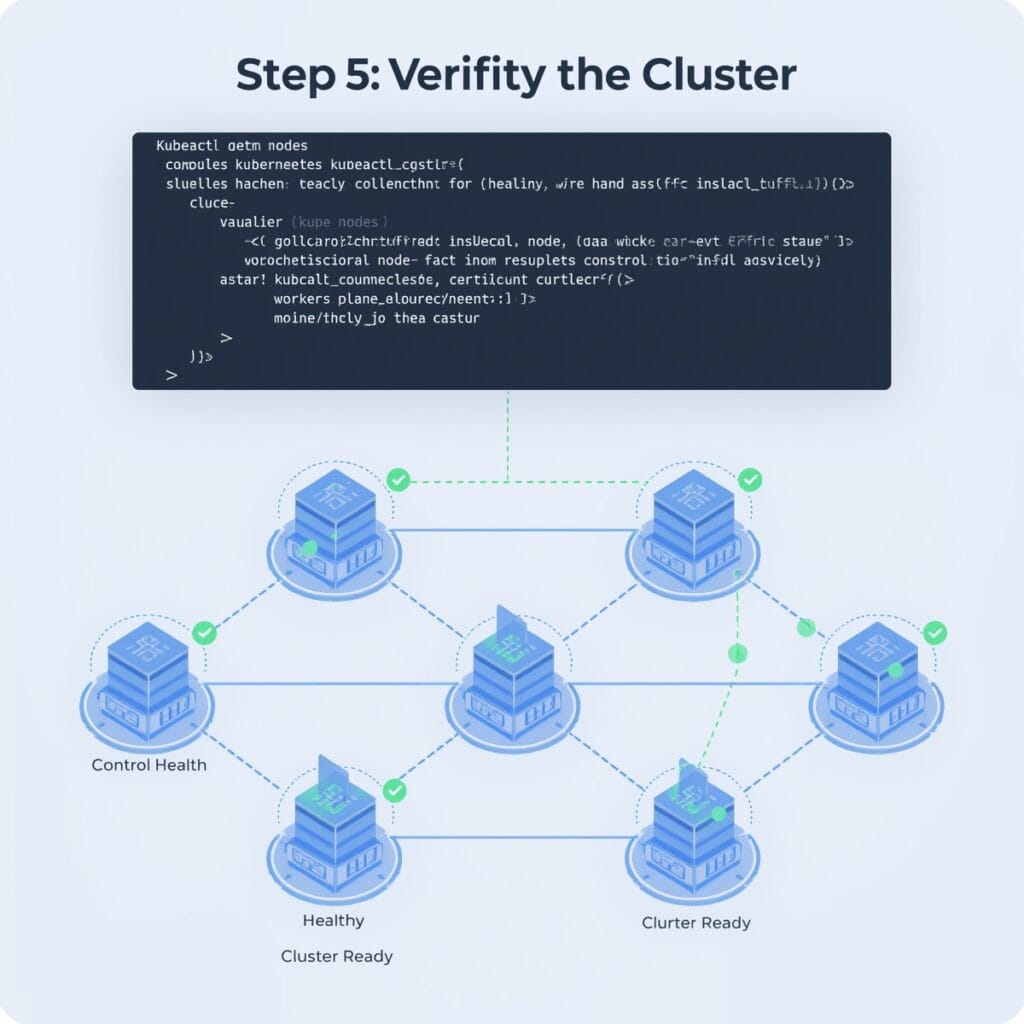
✅ Step 5: Verify the Cluster
Back on the master node, check the status of nodes and pods:
					kubectl get nodes
kubectl get pods -n kube-system
You can also use other CNI plugins like Calico or Weave Net depending on your setup.
- All nodes should appear as Ready.
- Core system pods (DNS, kube-proxy, etc.) should be running.
🎯 Conclusion
You’ve successfully bootstrapped a Kubernetes cluster using kubeadm. 🎉
- Control plane initialized
- Pod network installed
- Worker nodes joined
- Cluster verified
This forms the foundation of a production-ready cluster. From here, you can:
- Deploy applications
- Set up monitoring & logging
- Explore scaling with Kubernetes