🛠️ How to Make a WordPress Website (Step-by-Step Tutorial)
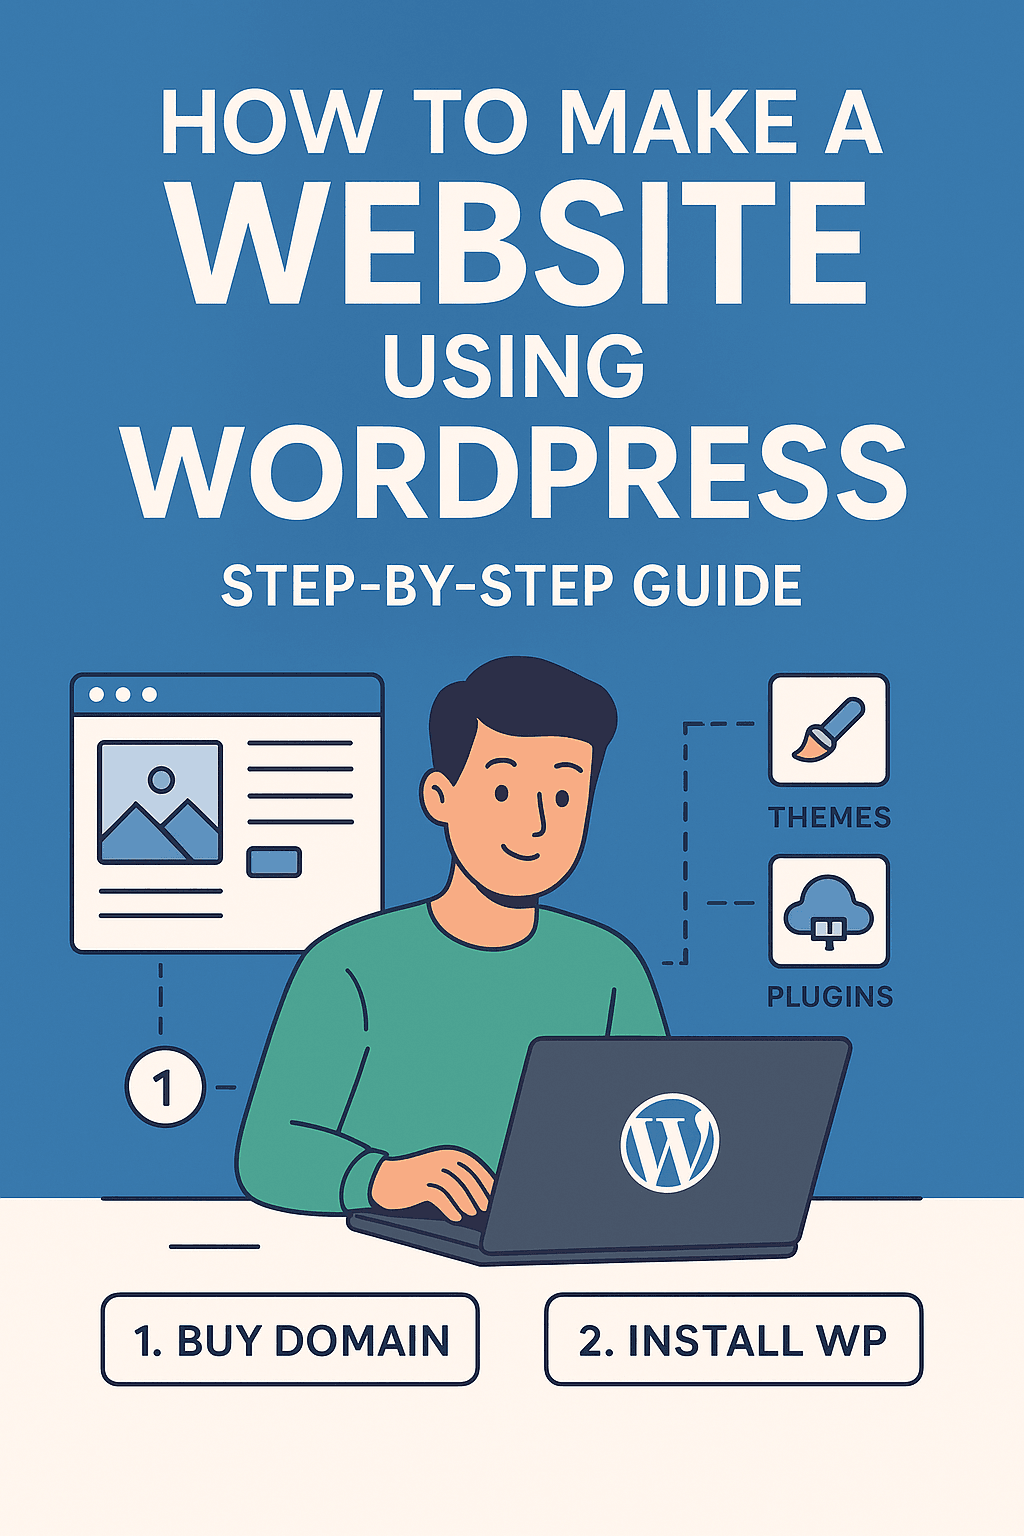
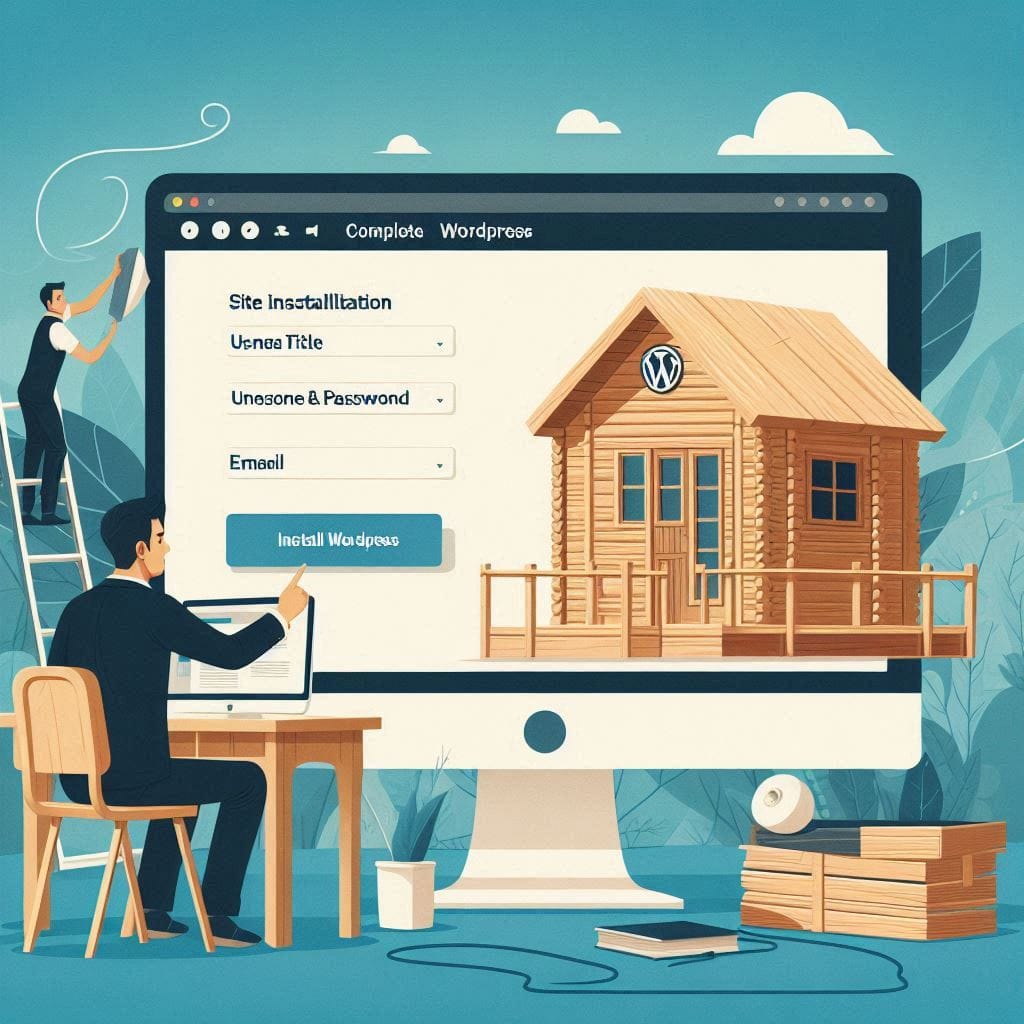
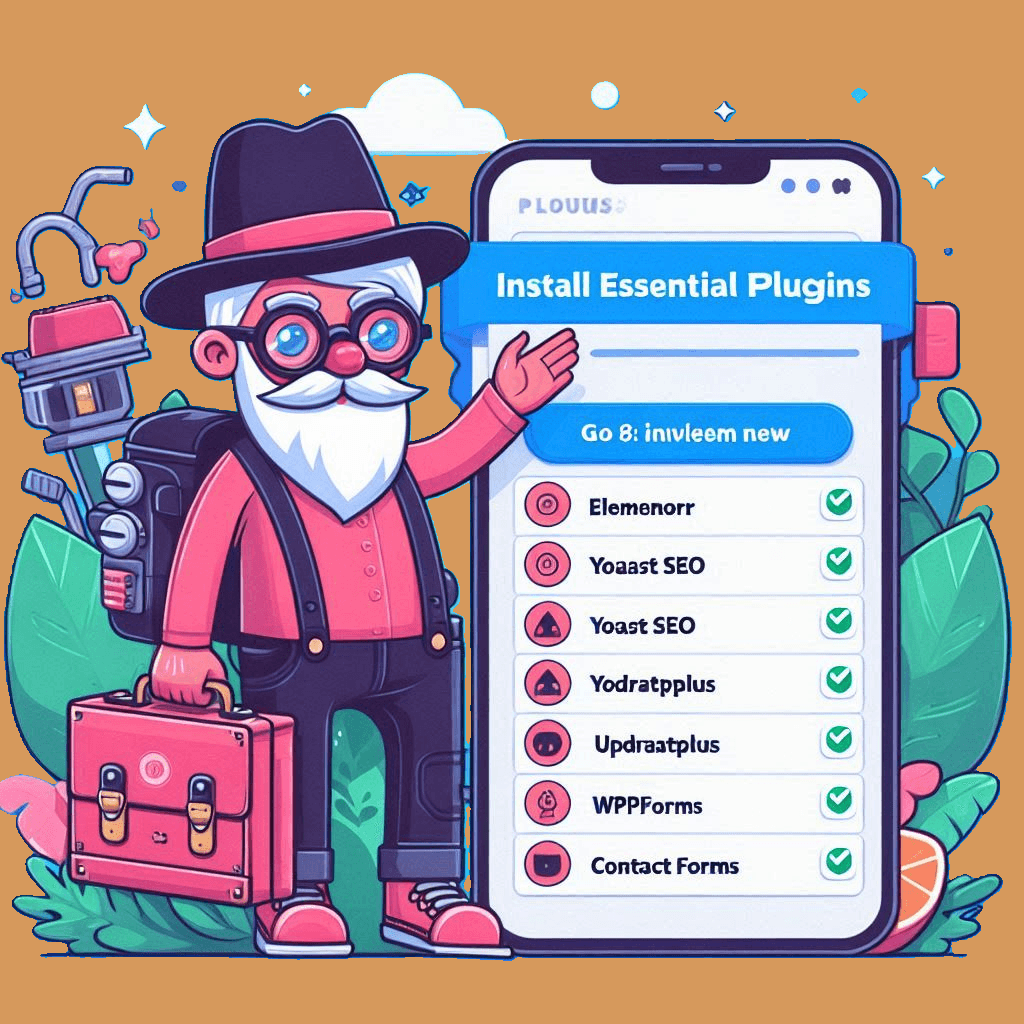
Optimize your website development workflow with our comprehensive WordPress tutorial guide—covering environment setup, theme customization, plugin integration, and deployment automation. Leverage tools like WP-CLI, Git, and staging environments to build scalable, secure, and maintainable WordPress solutions aligned with modern development standards.
✅ Step 1: Choose a Hosting Provider & Domain Name
- Buy a domain (e.g., from GoDaddy, Namecheap).
- Choose hosting (Shared or Cloud Hosting):
- Shared: Bluehost, SiteGround (easier for beginners)
- Cloud: DigitalOcean, AWS, or GCP (better for performance)
If you’re using cloud hosting, you’ll set up a VPS and install WordPress manually.
✅ Step 2: Point Domain to Hosting
- In your domain registrar (e.g., GoDaddy), go to DNS settings.
- Update nameservers (e.g., to ns1.bluehost.com, etc.) or A Record to your VPS IP.
- Wait for DNS propagation (can take up to 24 hours).
✅Step 3: Set Up a Server (Cloud Hosting Only)
For DigitalOcean or similar:
- Create a Droplet (Ubuntu 22.04 preferred)
- SSH into the server:
ssh root@your_server_ip
- Install LAMP Stack (Linux, Apache, MySQL, PHP):
apt update
apt install apache2
apt install mysql-server
apt install php php-mysql libapache2-mod-php php-cli php-curl php-gd php-xml php-mbstring unzip
- Restart Apache:
systemctl restart apache2
✅Step 4: Create a MySQL Database
- Access MySQL:
mysql -u root -p
- Run the following:
CREATE DATABASE wordpress;
CREATE USER ‘wpuser’@’localhost’ IDENTIFIED BY ‘your_password’;
GRANT ALL PRIVILEGES ON wordpress.* TO ‘wpuser’@’localhost’;
FLUSH PRIVILEGES;
EXIT;
✅Step 5: Download and Configure WordPress
- Go to your web directory:
cd /var/www/html
- Remove default page:
rm index.html
- Remove default page:
STEP 1: Download from https://wordpress.org/latest.zip
STEP 2: Unzip the file
STEP 3: Move contents of ‘wordpress/’ to your main folder
STEP 4: Delete ‘wordpress’ folder and latest.zip
- Set permissions:
chown -R www-data:www-data /var/www/html
chmod -R 755 /var/www/html
- Rename config:
cp wp-config-sample.php wp-config.php
- Edit wp-config.php:
define(‘DB_NAME’, ‘wordpress’);
define(‘DB_USER’, ‘wpuser’);
define(‘DB_PASSWORD’, ‘your_password’);
define(‘DB_HOST’, ‘localhost’);
✅Step 6: Complete Installation in Browser
- Visit: http://yourdomain.com
- Follow the on-screen wizard:
- Site Title
- Username & Password
- Click “Install WordPress”
You’ll be redirected to the WordPress Dashboard.
✅ Step 7: Choose & Customize a Theme
- Go to Appearance > Themes
- Click Add New, search for a theme (e.g., Astra, OceanWP)
- Click Install > Activate
- Customize via Appearance > Customize
✅Step 8: Install Essential Plugins
- Go to Plugins > Add New
- Recommended plugins:
- Elementor – drag & drop page builder
- Yoast SEO – optimize for search engines
- UpdraftPlus – backup your site
- WPForms – contact forms
✅ Step 9: Create Pages & Posts
- Pages: Home, About, Contact, Services
- Posts: For blogging
- Go to:
- Pages > Add New
- Posts > Add New
Use block editor or Elementor to design.
✅Step 10: Set Homepage & Navigation
- Go to Settings > Reading
- Set a static homepage
- Go to Appearance > Menus
- Create a menu and add pages
- Assign it to “Primary” location
✅ Step 11: Secure & Optimize
- Install SSL (Let’s Encrypt or via your host)
- Enable caching (via plugin like WP Super Cache)
- Security plugins: Wordfence, iThemes Security
✅ Step 12: Go Live!
- Double-check content
- Test on desktop and mobile
- Submit sitemap to Google Search Console